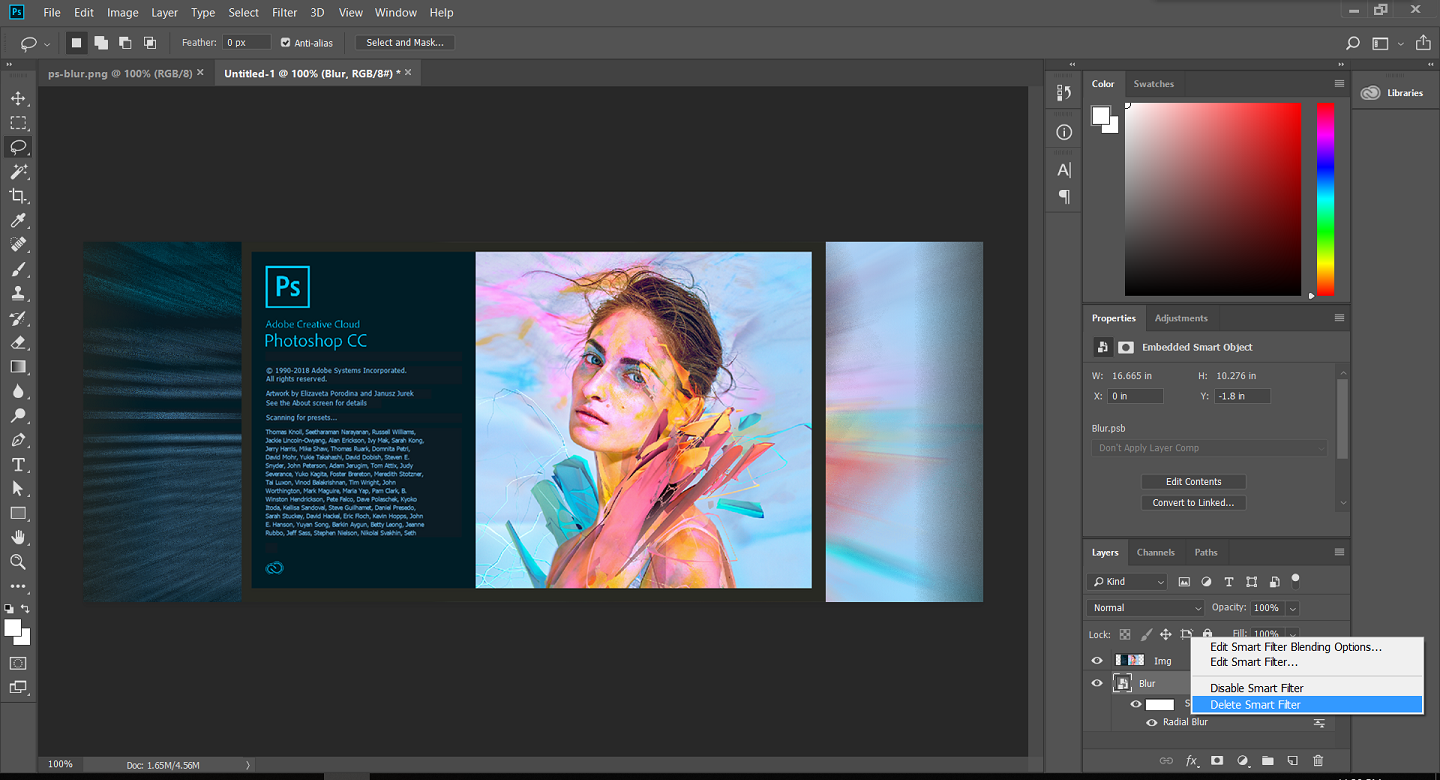
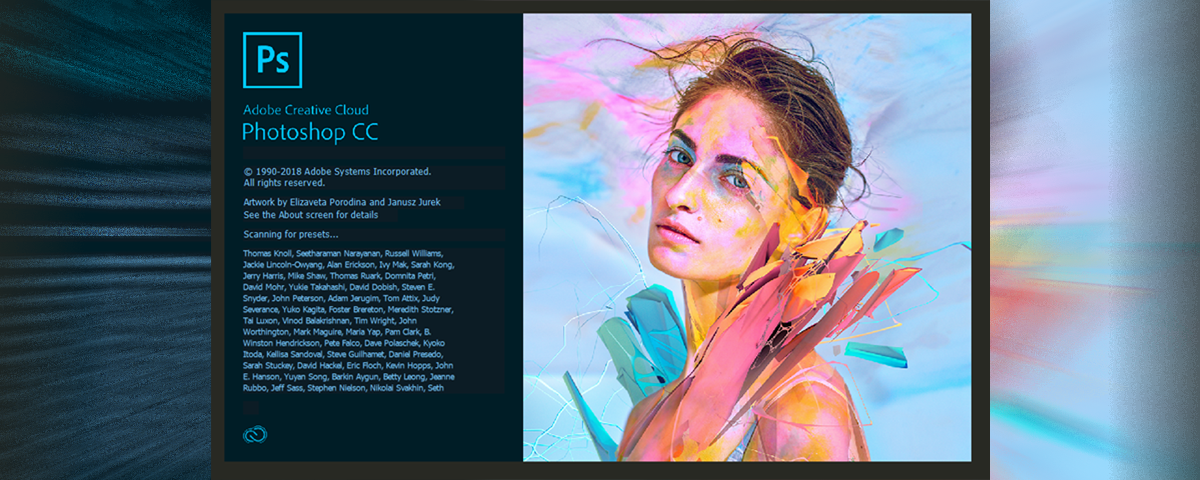
I didn’t come to this until I started posting on my personal blog. I need images that “happen” to fit in the web page, which is 1200x480px. But standard image wouldn’t have that ratio, you need something to fill in the empty. Use white can do the job but I don’t like it at all. What I want is blur the image to fill in. And that’s the head image you are seeing now.
To do that, you need a PhotoShop. Or if you can do it with something else, please tell me. But anyway, I am using PhotoShop CC 2018. ShanghaiTech bought an Adobe Suite for everyone, welcome to ShanghaiTech. :)
Step 0: Initiate a new Project
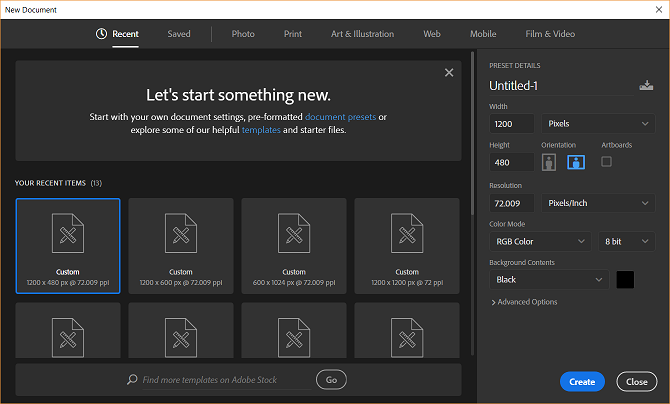
I did it with my desired size 1200x480px. You can change it to anything you want, but it’s better decided beforehand. If you can’t decide, use a generic size like 1920x1080 and change later. (Image->Image Size or Alt+Ctrl+I)
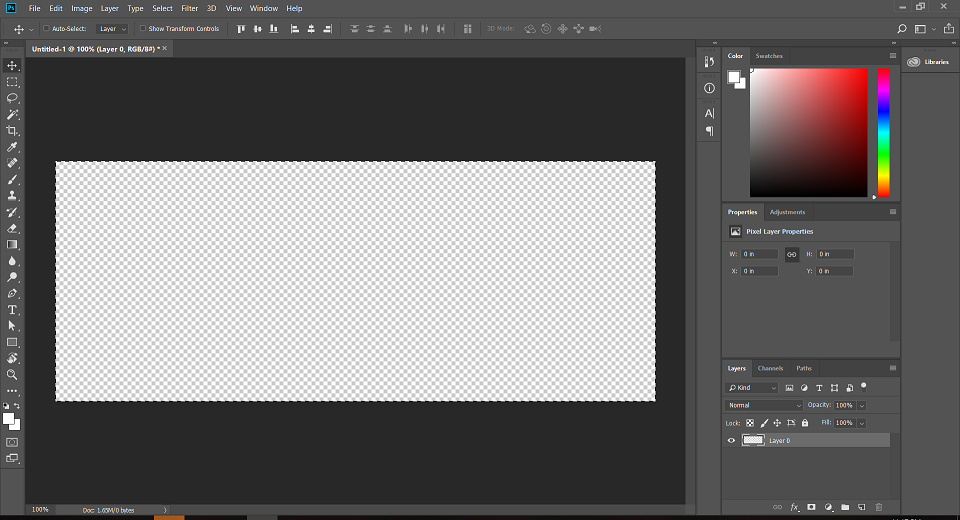
And you would get a canvas like this.
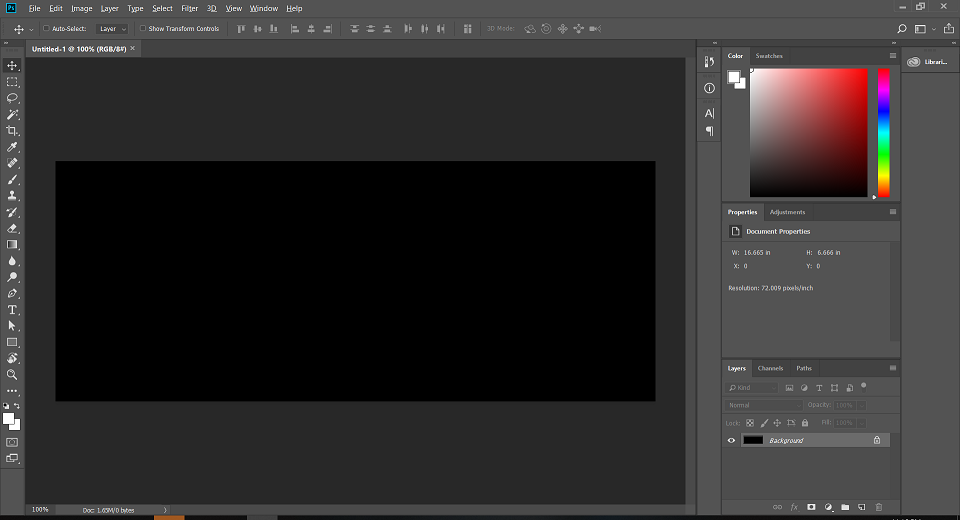
Step 1: Remove default background
I am assuming you have (almost) no knowledge in PhotoShop and explicitly stating this. Notice the lock in the right of layer 1. It locks the layer from been deleted. Now click it to remove the lock, then select the whole canvas by Ctrl+A, delete it.
Then you would get an empty canvas like this:
Step 2: Get the image
Open the image you want in another tab:
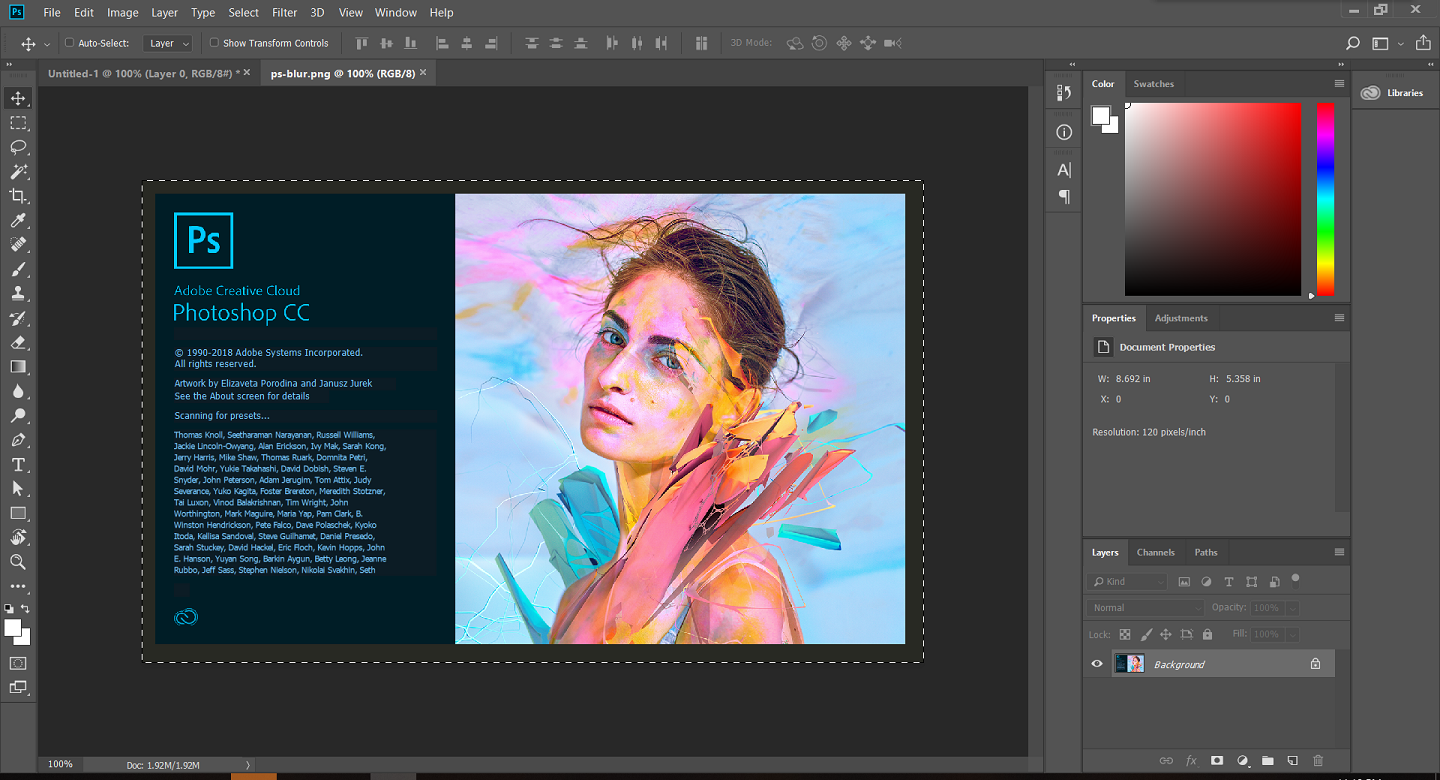
Select them all(Ctrl + A), copy(Ctrl + C).
First paste
After pasting adjust the height of the image by input 480px in the right box. Press V or select Move Tool in the upper left to adjust the image to the center of your canvas. There will be a pink line to guide you when you are close to the center.
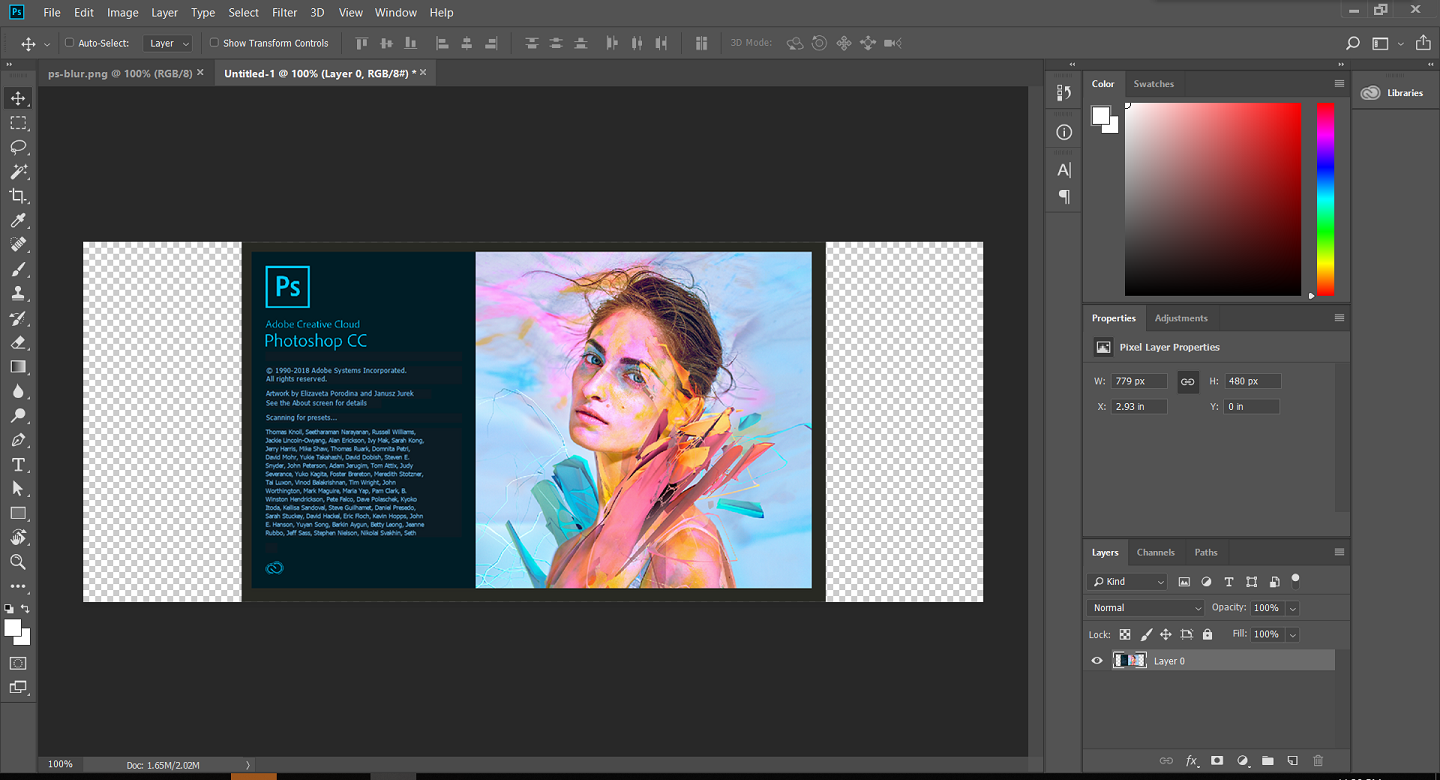
After finish, you can click the eye in the left of the layer to make it invisible. This layer is finished and would be of much use to us anymore.
Second paste
This time adjust the width of the image to the same width as the canvas(1200px).
Again, center it.
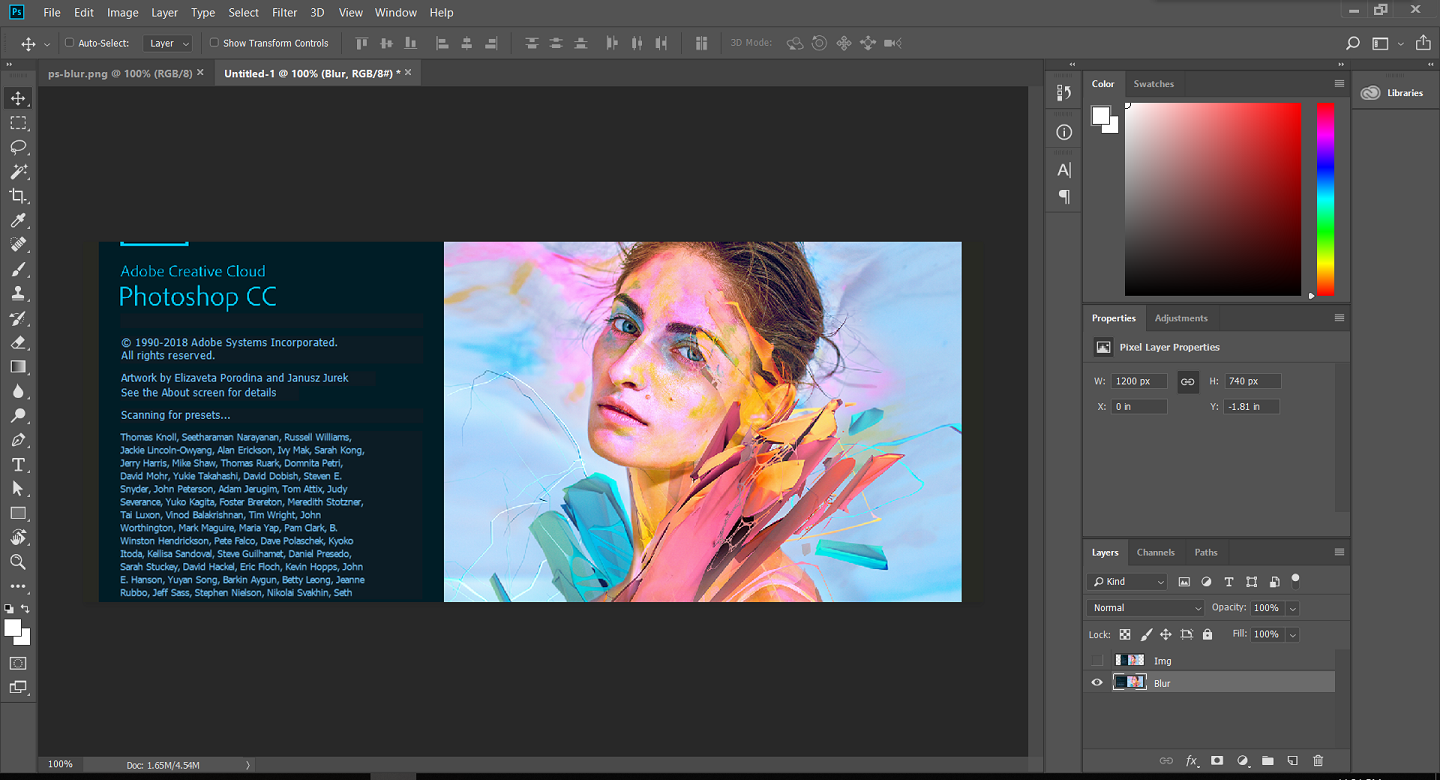
At the time of pasting, a new layer will be created. Notice that this layer has to be put down and the first paste layer up. This is a PS detail that the layer in the button will be hidden by the upper layer.
Step 3: Blur it!
Convert the second layer to Smart Object as the figure below does.
(Layer -> Left click the rightmost button which has 3 bars -> Convert to Smart Objects)
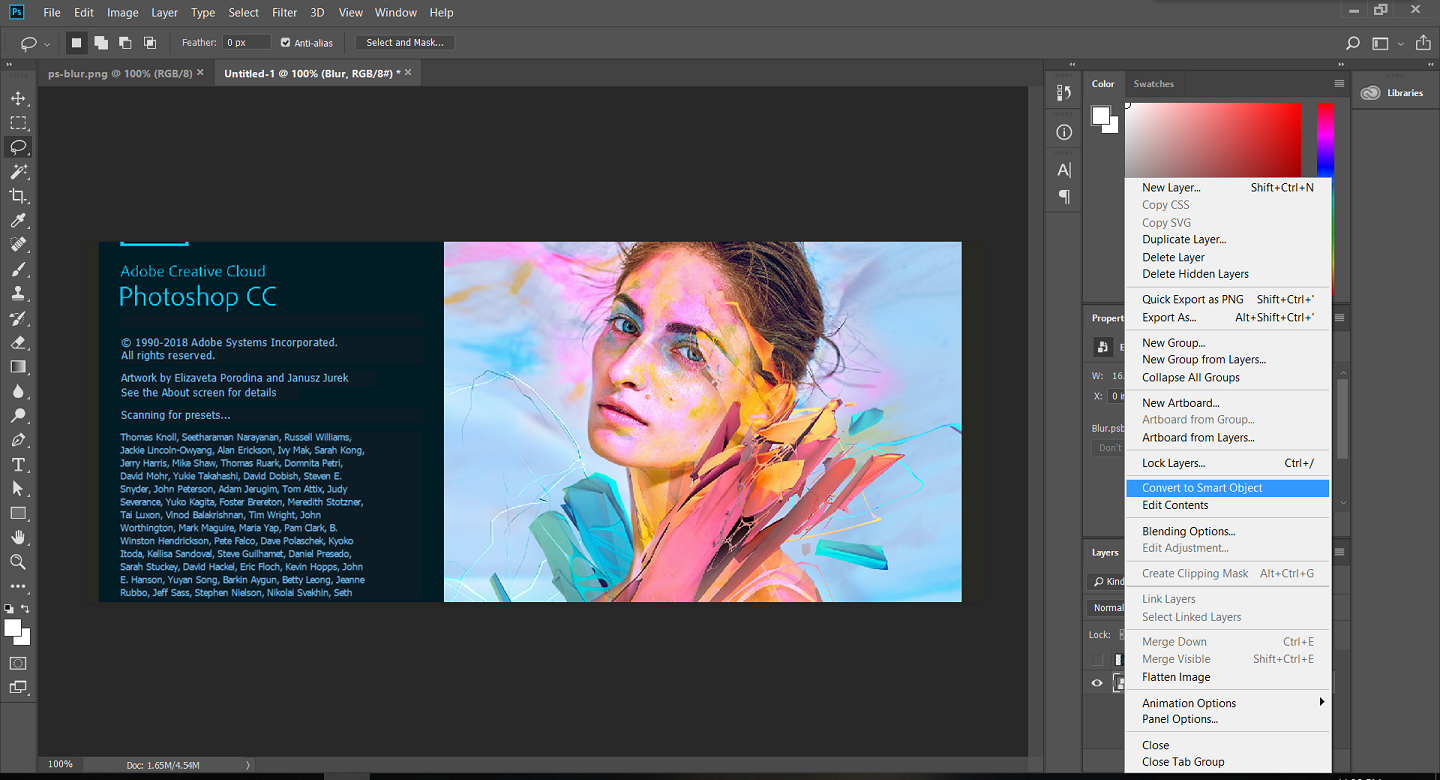
You don’t need to worry about anything else then.
Now, go Filter->Blur->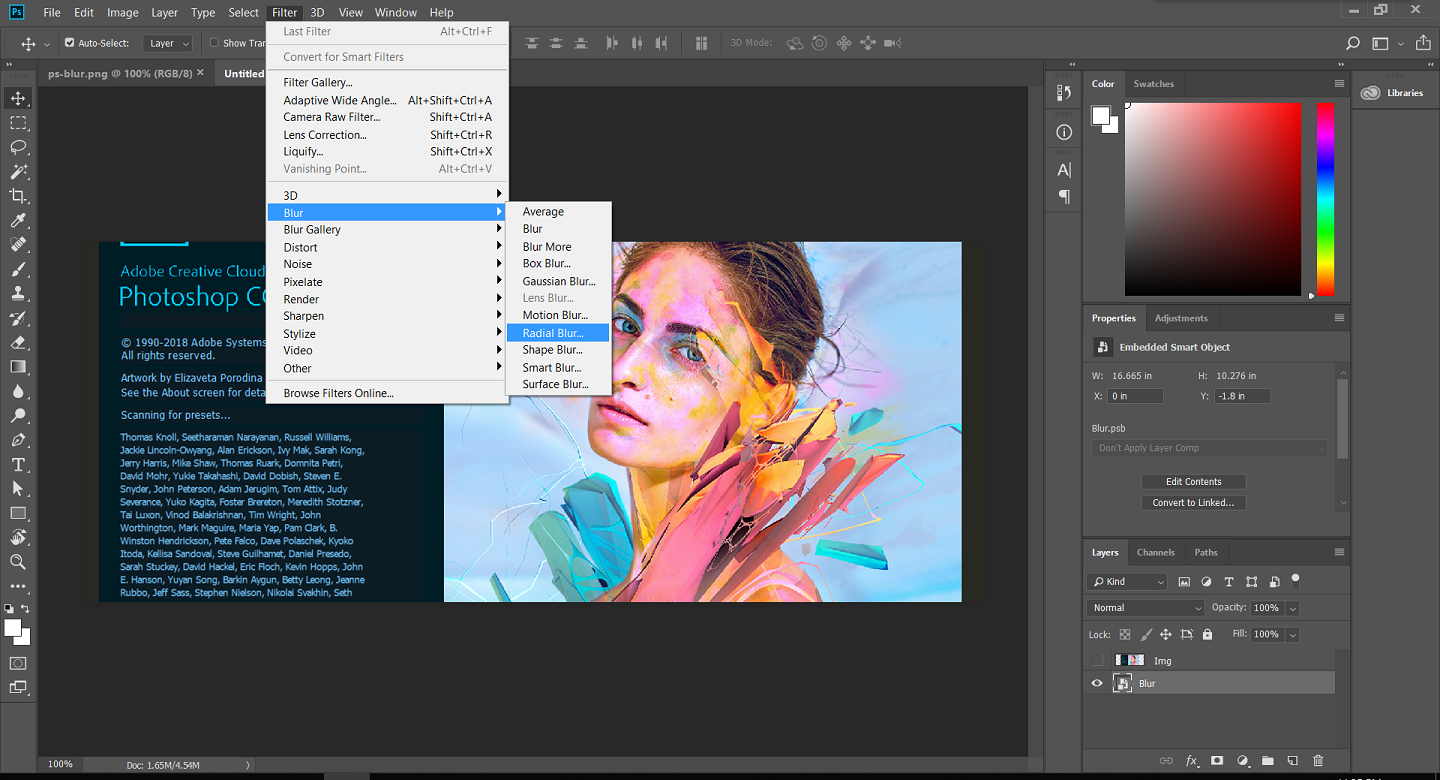
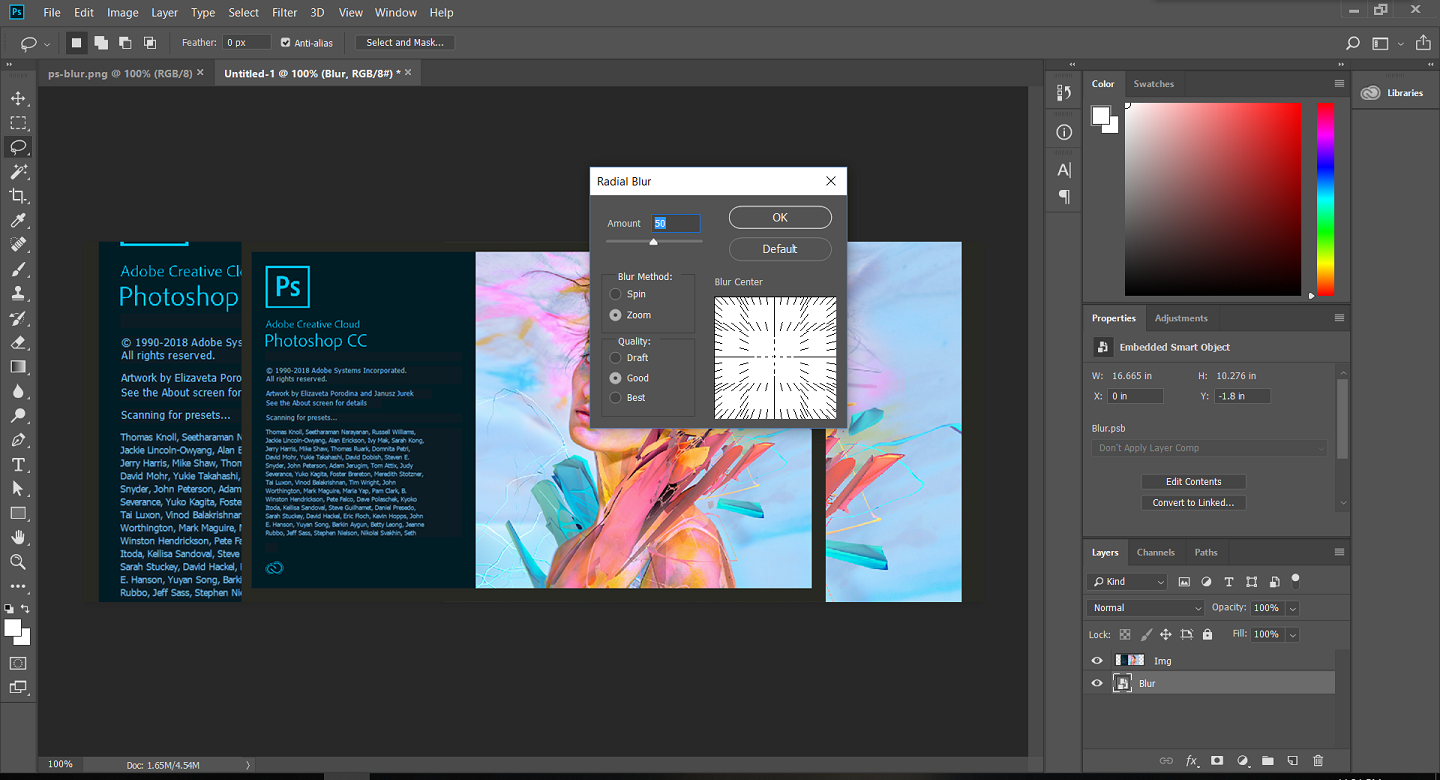
You can also add multiple blurs to get more interesting effects. Now re-click the eye of the first layer, Woola, you are done!
In case you want to delete the previous blur effects, do as the following image:
(Right-click filter->Delete Smart Filter)
